Progress Report
_________________________________________________________________________________________
Monday, 31st Jan 2011
1. 3ds Max Practice Notes (Tutorial source: Youtube)
* Assign material to a mesh
1. Press “M”: “Material” window
2. Drag the material to the “view f” window
3. To assign the material, drag the right side ball to the model.
4. To edit the component, double click on the material picture.
5. To add maps, drag in the selected map, link to the material window,(“diffuse color” in the tutorial video), then click “show map in view port”.
* Quick keyboard
1. Once a camera has been created, press “C”: change the screen to camera view.
2. Notes of creating an Ambient Occlusion in Maya (Tutorial source: Youtube)
1. Open the “Hypershade” window, choose the “Surface shader” material.
2. Then in “Hypershade” window, choose “mental ray” -> “Textures” -> “mib-amb-occlusion”, then link it with the “Surface shader” by clicking the middle button of the mouse.
3. Change the “persp” window’s “background color” to white, which is in the “Enviornment” section.
4. Open the mesh, and a ground.
5. Open “Hypershade”, assign the “surface shader” on the mesh.
6. Open “Render setting”, choose “mental ray”; then go to “Quality” section, change “Quality Presets” to “Production”; Then in “Multi-Pixel Filtering”, change filter to “Lanczos”.
7. Then Render it!
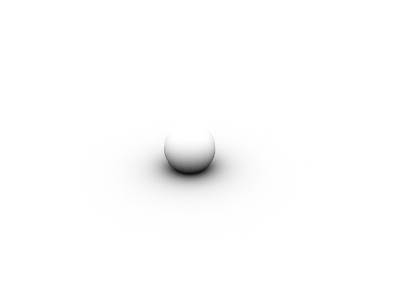
My first try, AO rendering on a mesh.
Wednesday, 2nd Feb 2011
1. Test of AO on a character
This is a character I have done before, rendered with default setting
Same character but rendered with higher sample rates, 256
Before and after AO rendering
Same character with textures
Thursday, 3rd Feb 2011
1. Practice of baking an AO map in Maya (Tutorial resource: YouTube)

1. Create a specified project folder. To do this select File> Project > Set, and select a file. All baked texture will automatically be saved in this file.
2. Make sure the model have been UV mapped.
3. Make sure the face normals of the model are facing the right way or the bake will produce a black picture
4. Make sure the model’s edge has been softened, and created hard edges where needed.
5. Save a copy of current scene at this stage as Maya can crash while baking to texture.
6. Now choose the rendering menu set and select Lighting/Shading > Batch Bake (Mental Ray) > Options box, set as shown on right option box.
7. Convert and close, it would take a while.
8. In Photoshop, open both the original texture and the just baked AO map, set them into two individual layer, and change the AO map’s layer to “Multiply”.Export the new texture.
Original texture Texture + AO map
Model without AO map Model with AO map


No comments:
Post a Comment